Zoom waiting room: how to customize it, and where its limits are
Zoom’s waiting room holds guests until the host admits them. To customize it, turn on Waiting Room and choose Customize Waiting Room: you get a title of up to 64 characters plus one of an image, a logo with a 400-character description, or a video. The custom screen only appears for meetings scheduled with Waiting Room on.
For a sales demo or client consultation, that’s rarely enough. This guide covers exactly what Zoom supports and how to give Zoom guests a full branded waiting room with Lobbi.
The short answer
- Zoom’s waiting room customization allows a title of up to 64 characters plus one of: an image, a logo with a description of up to 400 characters, or a video.
- The custom screen only appears for meetings scheduled with Waiting Room enabled, and admins can block custom logos.
- Lobbi gives guests a full branded page before the call, with your content, an optional check-in form, and arrival alerts in Slack or email.
- Today you add your Zoom meeting link to a lobby and Lobbi sends guests to it when you admit them. A native Zoom connection is on the way.
What can you customize in Zoom’s waiting room?
According to Zoom’s support documentation, you enable Waiting Room in your settings and then choose Customize Waiting Room. The options are:
| Element | Zoom’s limit |
|---|---|
| Title | Up to 64 characters |
| Logo | GIF, JPG, or PNG, up to 1 MB, between 60×60 and 400×400 pixels |
| Description | Up to 400 characters, shown with the logo |
| Image | GIF, JPG, or PNG, up to 1 MB, at least 400×200 pixels, 2:1 ratio recommended |
| Video | One uploaded video shown under the title |
You pick one display style: the default screen, an image, a logo and description, or a video. There are a few catches worth knowing:
- The customized screen only shows when the meeting was scheduled with Waiting Room on. If you turn it on during a live meeting, guests see Zoom’s default screen.
- Account admins can stop hosts from adding a custom logo.
- Customization is set at the account, group, or user level, so the same screen tends to appear for every meeting rather than being tailored to each type of call.
Why a 400-character description isn’t a waiting room experience
Zoom’s customization is designed to tell guests they’re in the right place. It doesn’t give you room to introduce the person they’re meeting, share an agenda, show a customer story, or ask a question that warms up the conversation. There’s no check-in form, and the host only finds out someone is waiting from inside Zoom.
That matters most when the call is part of a sale. A prospect waiting for a demo has a few minutes of attention to give you. A generic screen wastes it.
What a branded waiting room adds in front of Zoom
- Your full brand, built from your website. Paste your URL and Lobbi’s AI suggests four designs using your logo, colors, imagery, and messaging.
- Real content. A personal welcome, a host card with your photo and title, a short video, a product snapshot, an agenda, case studies, or useful links.
- A room for each kind of call. Create separate lobbies for demos, discovery calls, onboarding, or each client, each with its own permanent link.
- Optional check-in. Ask for a name, email, phone number, or your own question before the guest enters, or skip it.
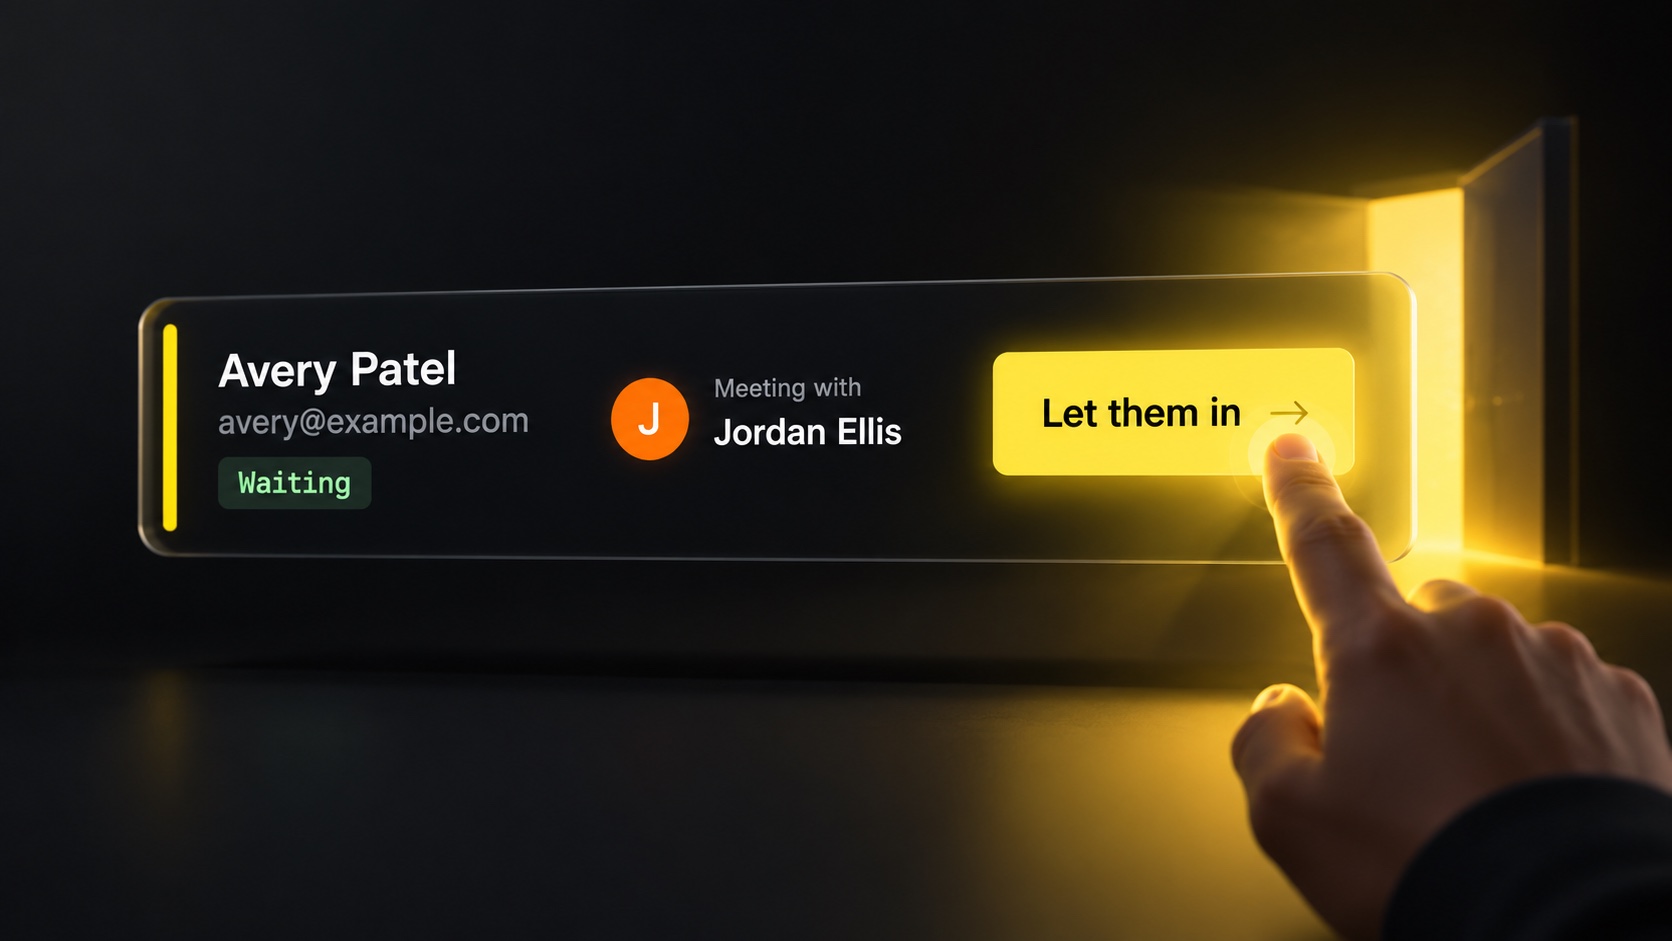
- Arrival alerts outside Zoom. Know the moment someone checks in through the Lobbi dashboard, email, or Slack.
- Running-late notes the guest actually sees. Send one from Lobbi, Slack, or email, or have it appear automatically once a guest has waited as long as you choose.
How to use Lobbi with Zoom today
- Create a lobby from your website URL, or start from a blank design.
- Add your Zoom link. In the lobby’s settings, paste the Zoom meeting link you want guests to join as the meeting link. Lobbi recognizes it as a Zoom link.
- Share your lobby link in calendar invites, booking pages, or emails instead of the raw Zoom link.
- Admit your guest when you’re ready. Lobbi sends them to your Zoom meeting.
If you leave the meeting link empty, Lobbi asks you for a link at the moment you admit someone, which suits hosts who create a new Zoom meeting for every call.
A native Zoom integration, where Lobbi creates the Zoom meeting for you the way it already does for Google Meet, is coming as part of Lobbi Pro.
Frequently asked questions
Should I keep Zoom’s waiting room on as well?
Your guest already waits in Lobbi, so a second waiting step in Zoom usually just adds a delay. If you reuse a personal meeting link and want an extra security check, keeping a passcode or Zoom’s waiting room on is reasonable.
Does my guest need a Zoom account to wait in Lobbi?
No. The Lobbi waiting room opens in any browser with no account or download. Joining the Zoom call itself works the way it normally does for your guest.
Can I show different content for different Zoom meetings?
Yes. Create a separate lobby for each call type or client. Each one has its own design, content, and permanent link, and can point to a different Zoom link.
How much does it cost?
Lobbi is free to start, with two branded waiting rooms and no card required. See pricing for what’s included.
Your Zoom guests deserve more than 64 characters.
Build a branded waiting room from your website in seconds and point it at your Zoom link.